1. The first step is to download and install the latest Rainmeter release, download it from here : Rainmeter.net
2. Now locate the file you downloaded and double click on it or right-click and select “open” to install the file. For our example, the file is located on my desktop.
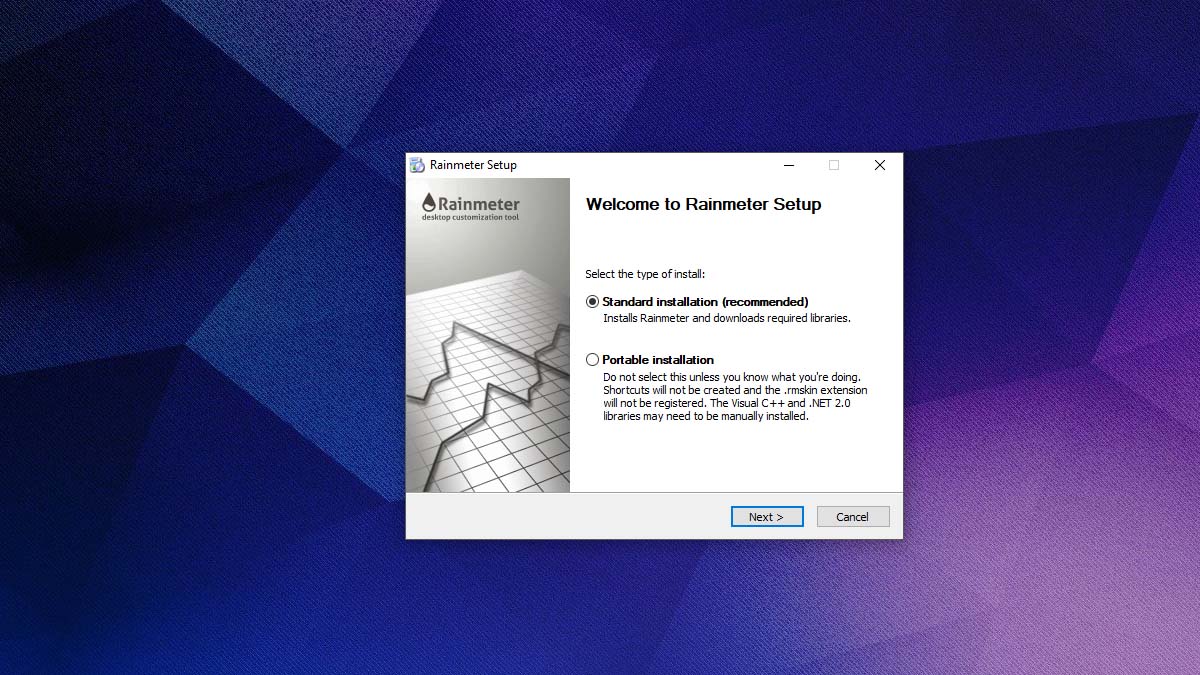
3. After you lunch the setup, you will be greeted with the Rainmeter installation window, just like the one on the preview below. You will have two options, “Standard”or “Portable” , we recommend the standard installation for maximum compatibility with all skins. click the next button and wait till full installation.
B: How To Launch And Setup Rainmeter
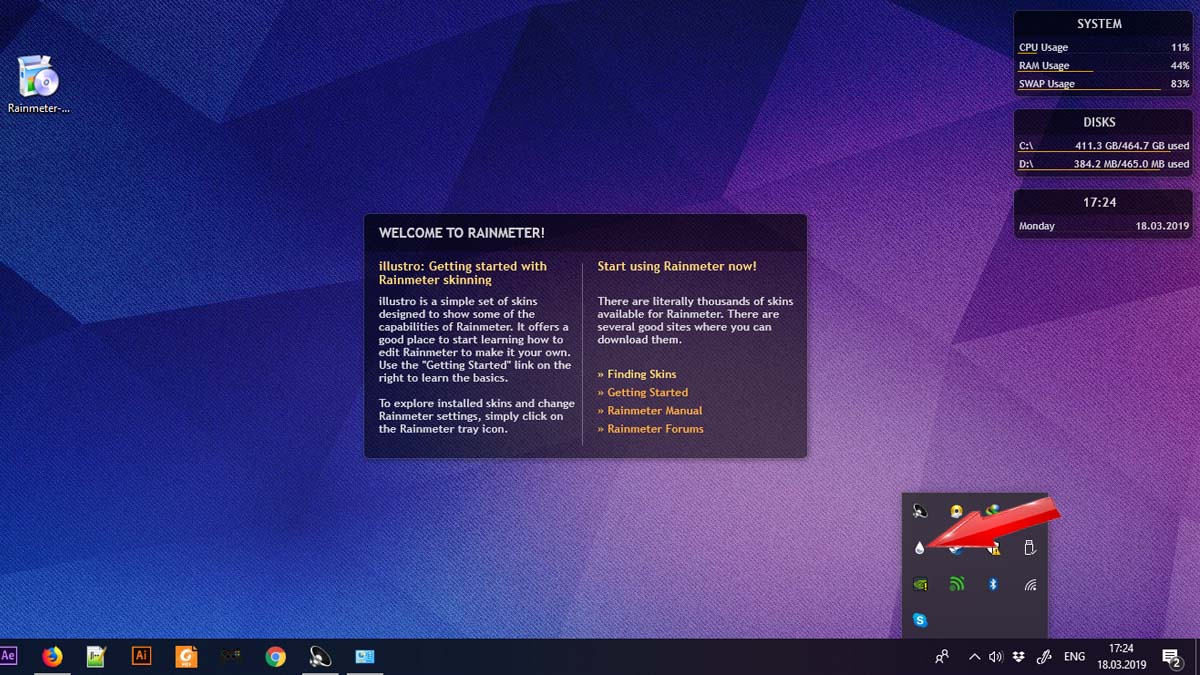
1. After installation, Rainmeter automatically loads its default skins named “Illustro”. To open the Rainmeter settings menu, you will have to launch it from the windows notification section on the task bar or you can simply search for “Rainmeter” on the windows search bar from windows Menu.
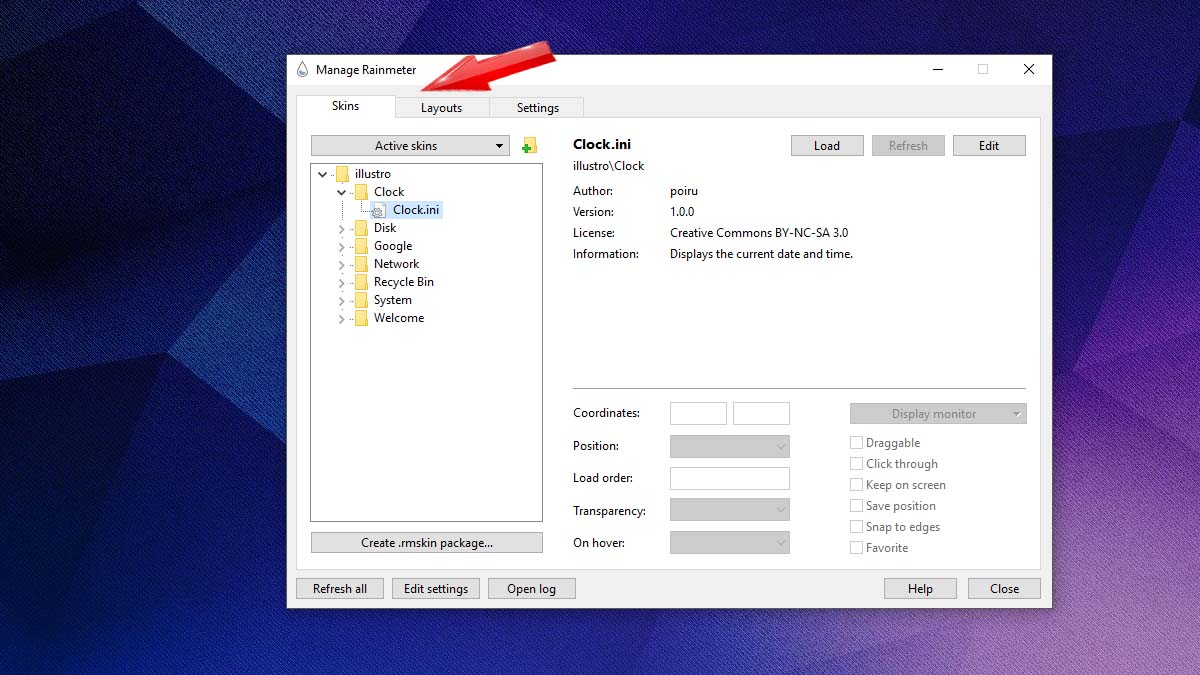
2. Once open, the Rainmeter manager will look like on the screenshot below, You will have 3 different tabs.The “skin” tab is where all the skins you own will be located and you can load/unload them from there, you can also change many other skin properties using the bottom right boxes. The second tab is the layout tabs and this section will contain all the layouts you saved, finally you get the settings tab from which you can change the language and edit some basic functions.
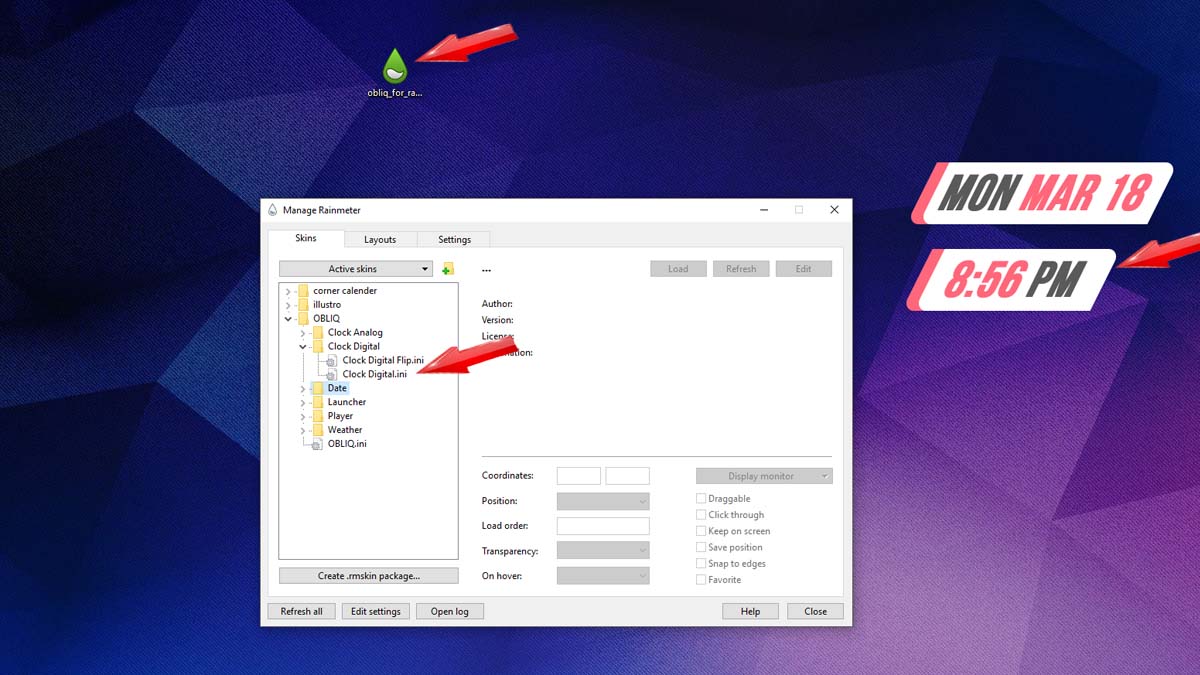
2. Once you have downloaded a skin, it will look like in the preview below, double click on it or right click and select open to install it. After the installation is complete, you will be able to find it in the rainmeter manager skins tab, you can then load it from there.
D: How To Edit And Uninstall skins
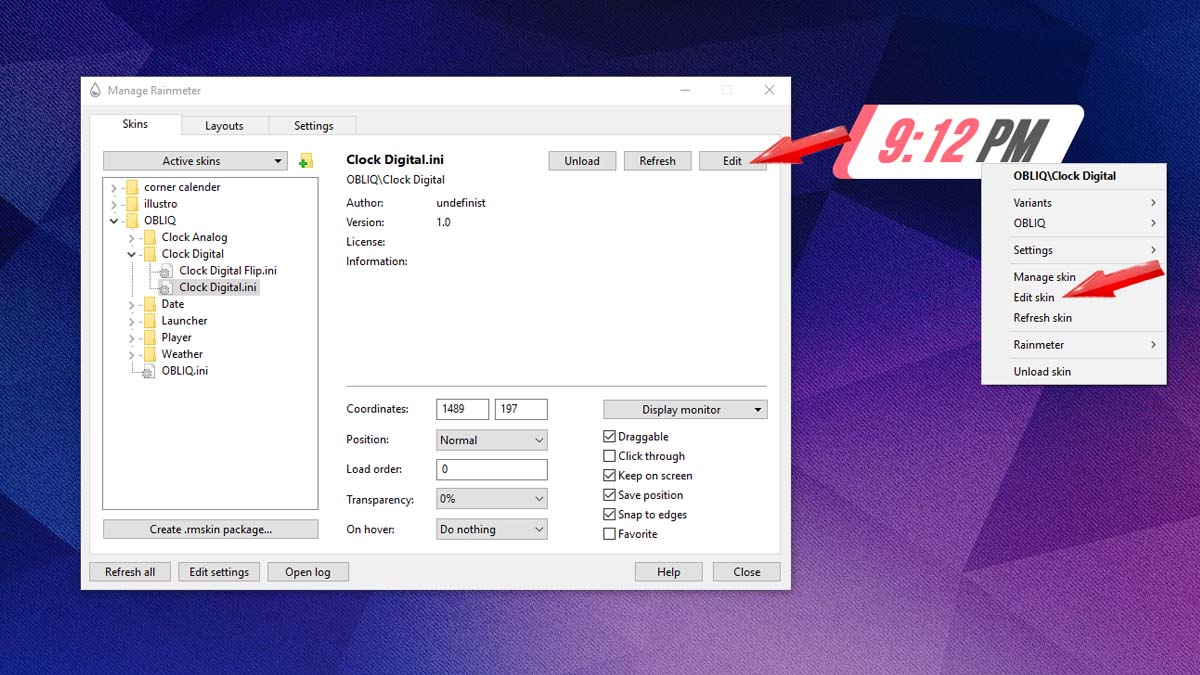
1. To edit a Rainmeter skin, you have two options, you can either edit a skin by right-clicking on it and selecting edit, or you can edit it from the Rainmeter manager as shown on the preview below. You will notice a note pad file will open and this file is known as a Rainmeter “.ini” file, which is the main rainmeter skin file. Here you can edit a lot of parameters such as the skin fonts, size colors and much more, make sure to back up the original “.ini” file as changes to this file might break the entire skin. If you want to learn how Rainmeter skins work in depth and would like to make yours at some point, we recommend you read about Rainmeter at the official Rainmeter documentation site docs.rainmeter.net
2. To unload a skin, right click on it and select “unload skin” . If you want to permanently delete a skin from your PC, then right click on the skin’s main folder on Rainmeter manager and select “open folder”, it would open the folder where the skin is stored on your PC, you can then delete the folder to permanently delete the skin.
E: How To Uninstall Rainmeter
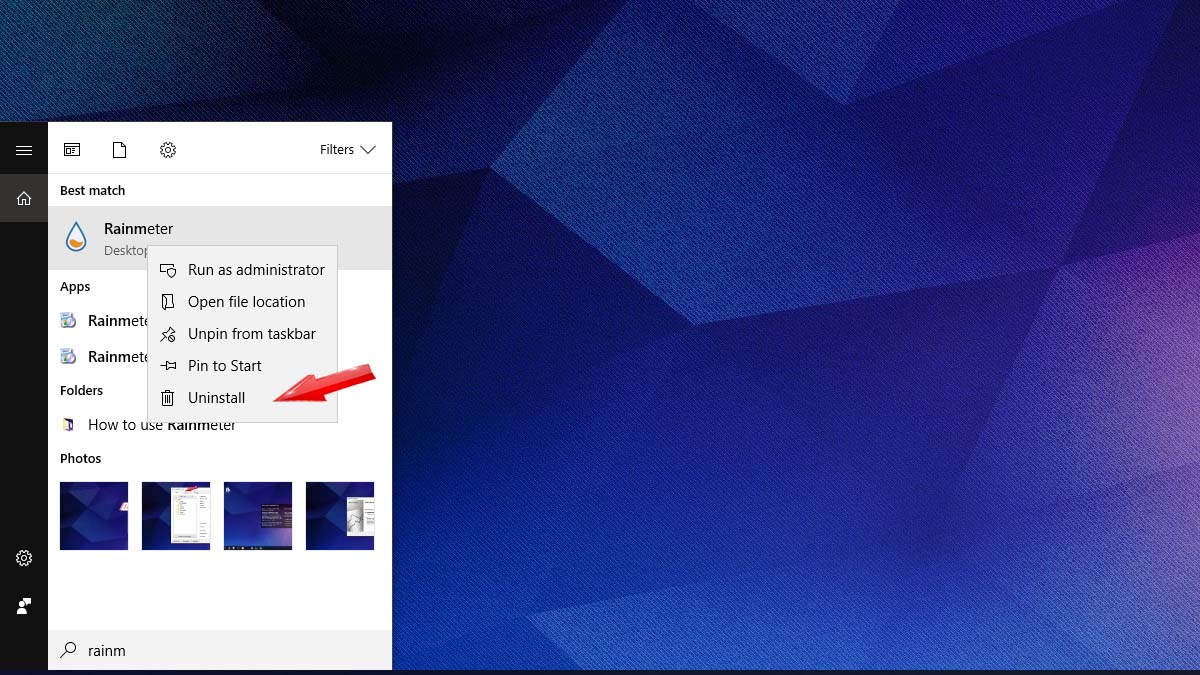
1. To uninstall Rainmeter, just search for the Rainmeter icon using windows search bar from the windows menu, right-click on it and select “uninstall”, it should be the last option.
F: Conclusion
1. We hope you found this tutorial on how to use rainmeter helpful, we also have youtube videos to help you out, browse through this website to download the best collections of Rainmeter skins from the web, here is a place to start Best skins.